If you use an older Version of mySQL or MariaDB Laravel throws an error on the first migration on your database. Thats cause the defaultStringLentth needs to be set to a maximum length of 191 characters.
    public function boot()
    {
        Schema::defaultStringLength(191);
    }
}
Add this to your AppServiceProvider.php File and rerun your migration
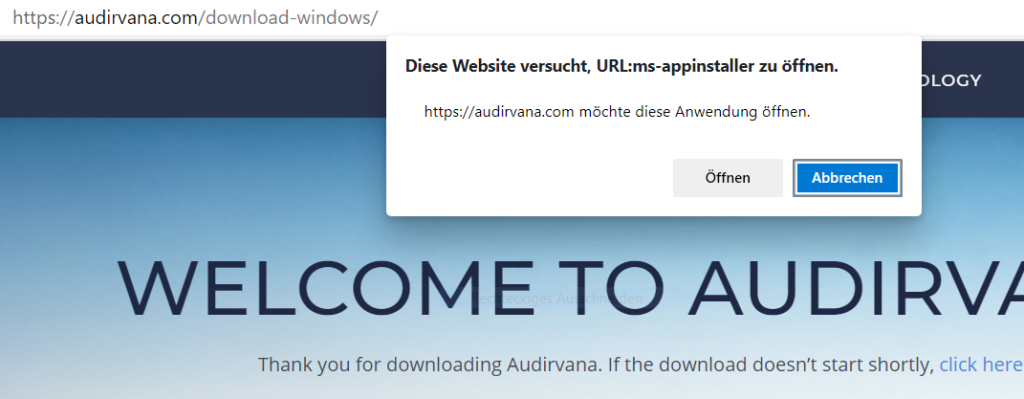
A friend recommended Audirvana and I wanted to try this music management and player system. Unfortunately the download of the app didn’t work because the system on which I wanted to install it doesn’t have an installation of the Microsoft App Store. Audirvana doesn’t offer a proper .EXE, so there is nothing left to do but to trick something.
ms-appinstaller doesnt open the install-routine
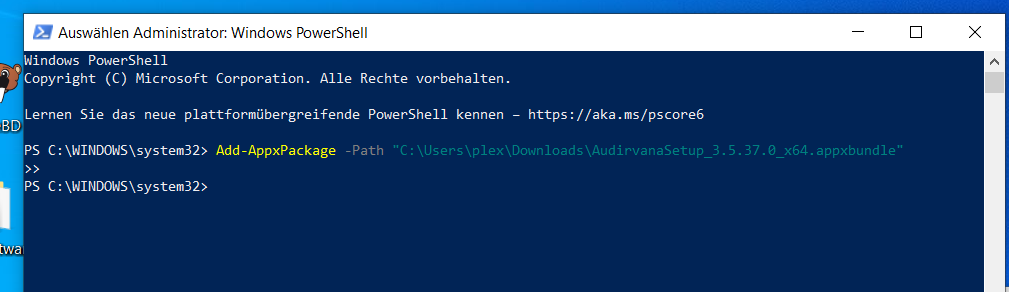
Nevertheless, the appinstaller file with the name “AudirvanaSetup.appinstaller” is downloaded. Open it ini a texteditor and you will get something like this:
As spammer start flooding my users table with fake-accounts i startet to develop a command for laravel to run in a cron job for deleting all users which didnt verified their email within the last 24 hours.
Everytime i start an update of the whole project it takes hours to upload all the new updated files to my web server.
To avoid a massive downtime for the user without informing them about the status and displaying any errors i just touch a file within the project:
project->storage->framework
there i add a file called “down” and the site goes into “down-mode” – atfer i finished my work i rename the file to “down-” to bring up the site agein. I configured the Error 503 page to display a nicer version of the error.
Today i updated RolandRadio.net because i had some new packages i wanted to use. On my local Laravel instalation everything worked fine but after uploading the new changed files i got an error:
Error Class ‘Illuminate\Database\Grammar’ not found
I didn’t figured out how to fix this and suggested that it has soething to do with updates of laravel that occured during my development and so the local laravel version and the version on my webserver where different.
After uploading all the files again completely instead of only the different ones the website worked again. Maybe my FTP-Client has messed up some files. As the Upload of those files takes about 2,5 hours i should think about using GIT to avoid those long downtime and commit my changes more often to the GIT repository then.
Sometimes its necessary to disable the caching in Laravel. To do so a new cache-driver “none” must be added to the cache-configuration-file in config/cache.php
I am rebuilding the whole RolandRadio-System. New Server, new radio automation software, new homepage, new functionality. New everything.
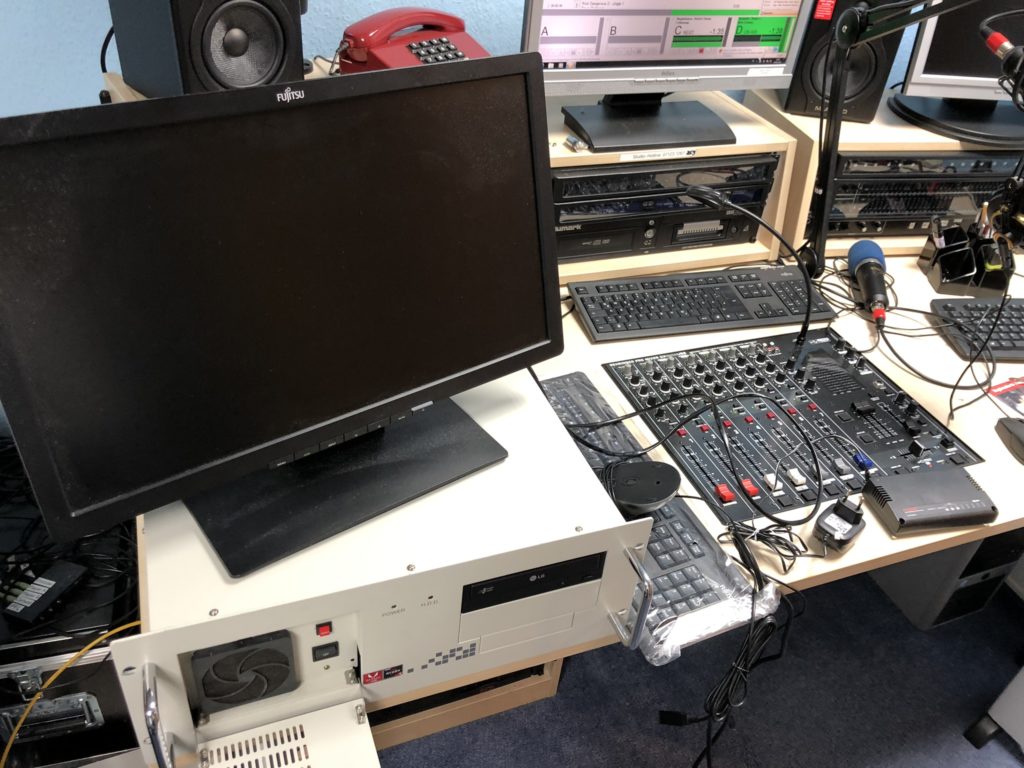
First we have bought a completely new radio automation hardware. Some nice “games-pc”. All this modern stuff like SSDs, HDMI, 8.1 soundcard and everything build in an very very old 19 inch full-metal rack-case from the late 90s. Heavy stuff but horrible fast. Running Windows 10 and mairList 6.2 Professional for the radio automation. And a new monitor, keyboard and mouse. Total cost for this setup? Roundabout 600 euros for the hardware and about 1400 euros for the software. 2000 euros in total.
Old Server-Case, but ultra-fresh hardware and software: RolandRadio2020
Thats what i call a nice hobby 🙂 But hopefully this invest will help run RolandRadio for the next ten years or so. The old system runs 24/7 since 2013 and is still running, but the mainboard is weak and reboots are kind of gamble. So new hardware is needed.
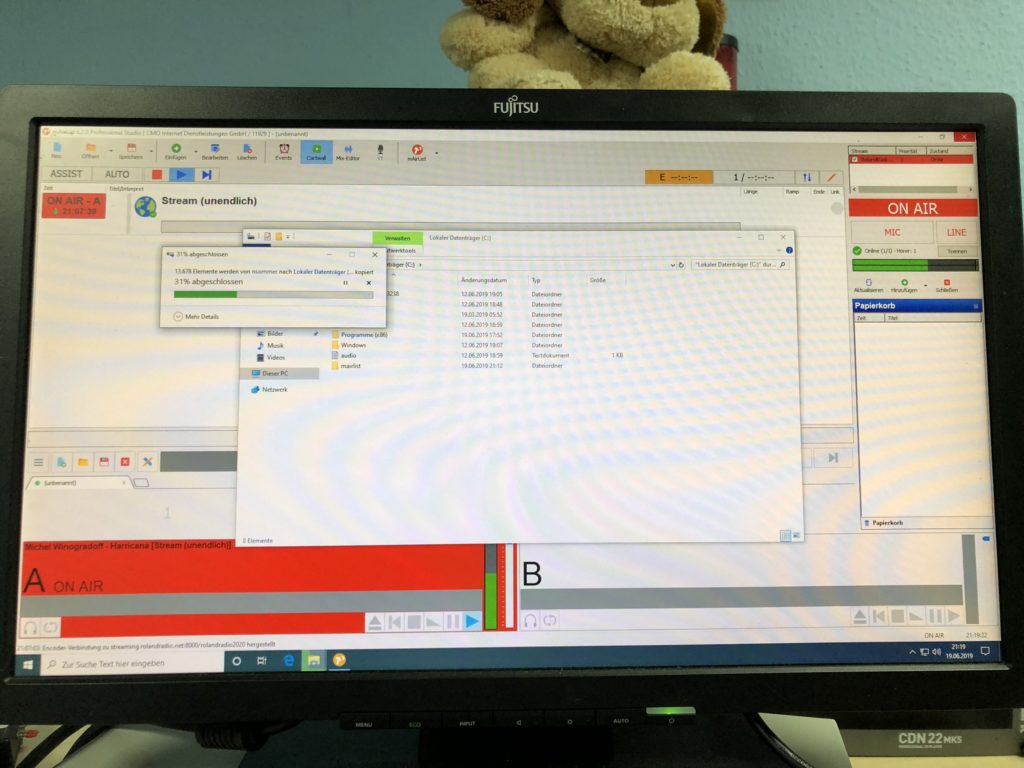
I’ve set up the hardware a few days ago and today i temporarily installed mairlist, the license, imported the database of the old (and still running) RolandRadio and started to clean things up to have a nice and stable chiptune-radio-station.
Cleaning up the Database of the radio automation software – takes its time.
Also i have tested the stream and set up a new beta streaming-mountpoint on streaming.rolandradio.net called rolandradio2020. My own streaming server is running since the beginning and I should also update this server and add some https-protocol to it. But that’s hopefully the last thing i will do on this project later thisor next year.
So thats it for the moment. If you want to participate in any way on RolandRadio i will be happy to hear from you,
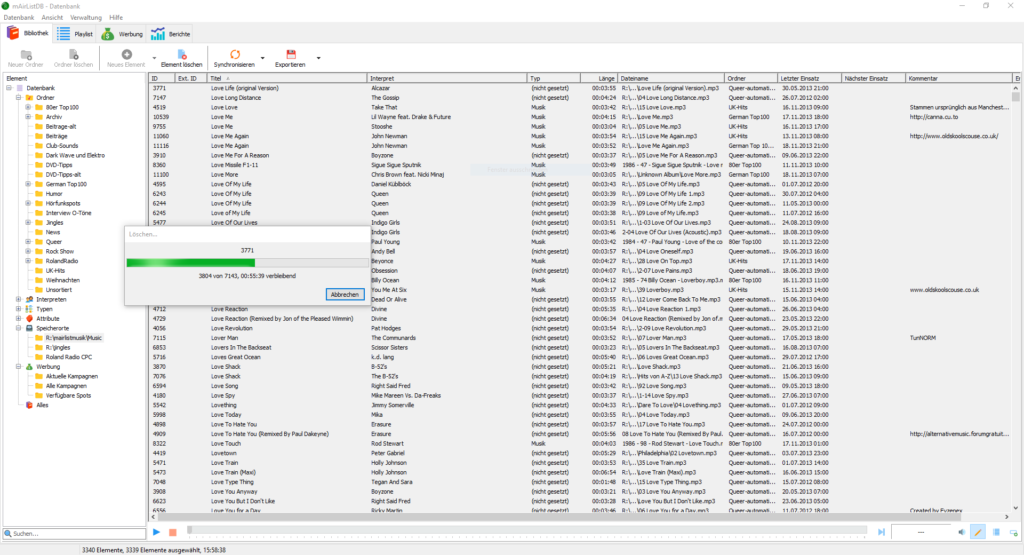
At the moment i build a new rolandradio.net radio station annd also move the whole old radio station data and music files to a new server system.
as the old radio station server conatins a lot of music not fitting the concept of rolandradio.net i first migrated all data, converted the database into the new mairlist 6.2 format and after that deleted all unwanted sound-files from my drive. Now i am deleting the obsolete database entries. This takes horrible long. As the path of the drive changed the database-manager tries to detect the file, times out and deletes the entry in the database. Nearly two hours of wasted time 🙂
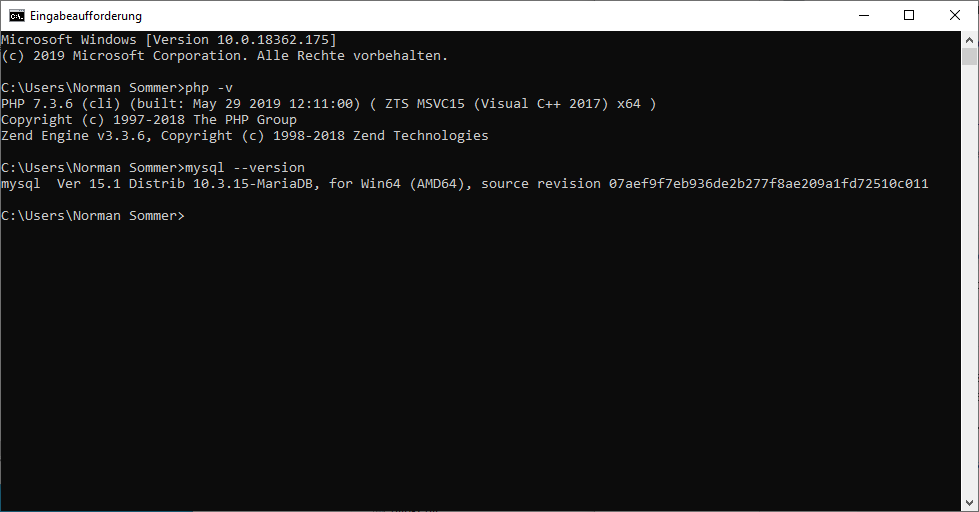
First i installed XAMP 64-bit-version from https://www.apachefriends.org/de/download.html This package installs a web-server and a database-server, so the basics to do some nice online development in a local environment. As said i only installed Apache, mySQL-Server and FakeMail. No TomCat, no Mailserver, no Statistics, no Perl, cause no other packages are needed for my Laravel and mySQL-Project. If i want to test mail functionality later on i will use a real external mail server to be sure everything works as expected.
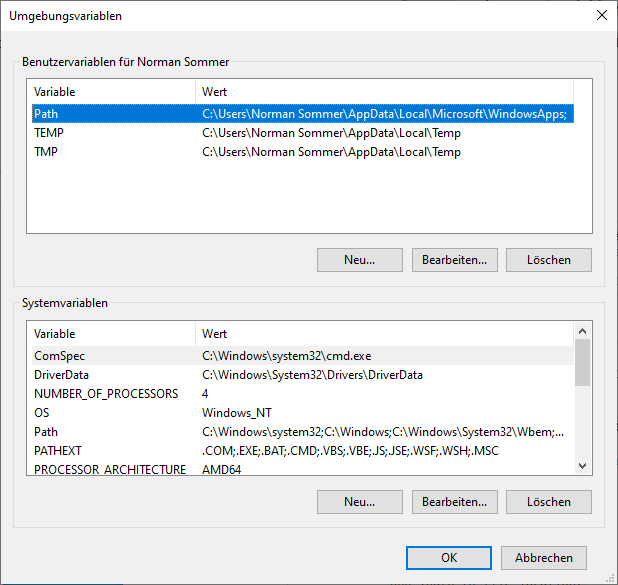
Add your software to your environment path
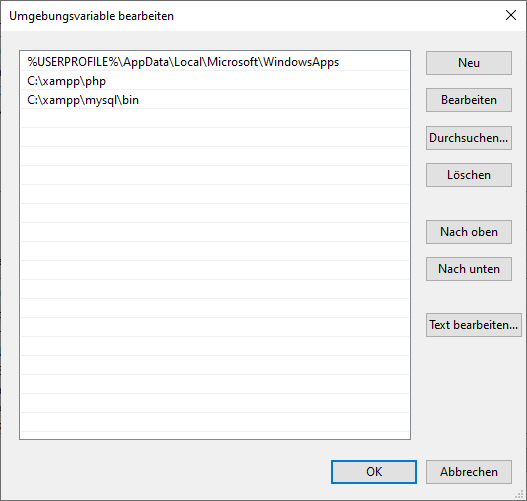
After installing XAMP i added php and mysql to the environment path of my user, so i can start php and the mysql command on every path i will be in my terminal. That is needed to run laravel artisan and other php-based commands from the shell.
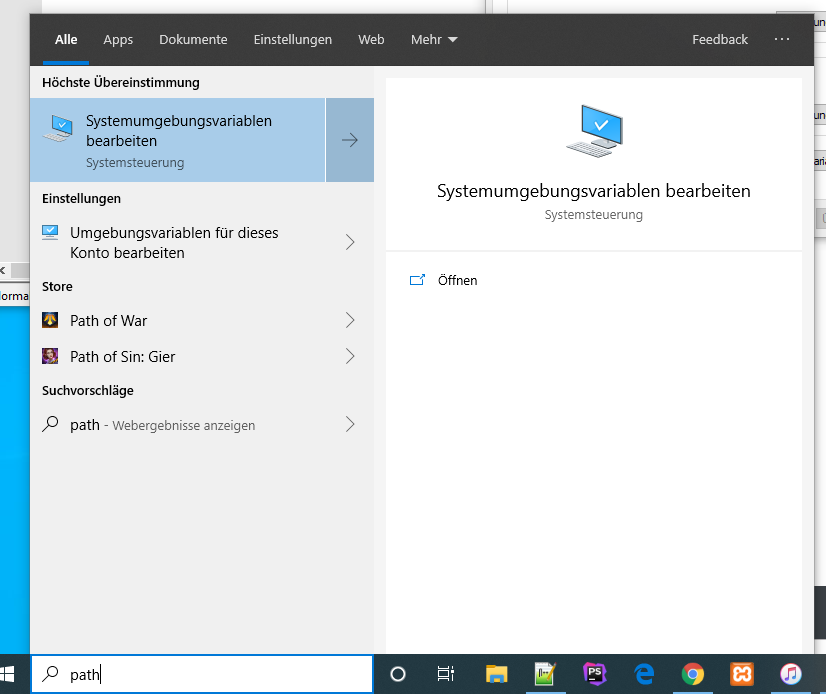
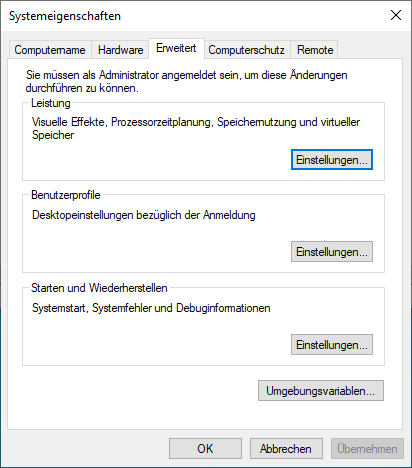
To do this type “path” in your Windows search and start the system settings to add more directories to your path:
Install Node.js and Composer
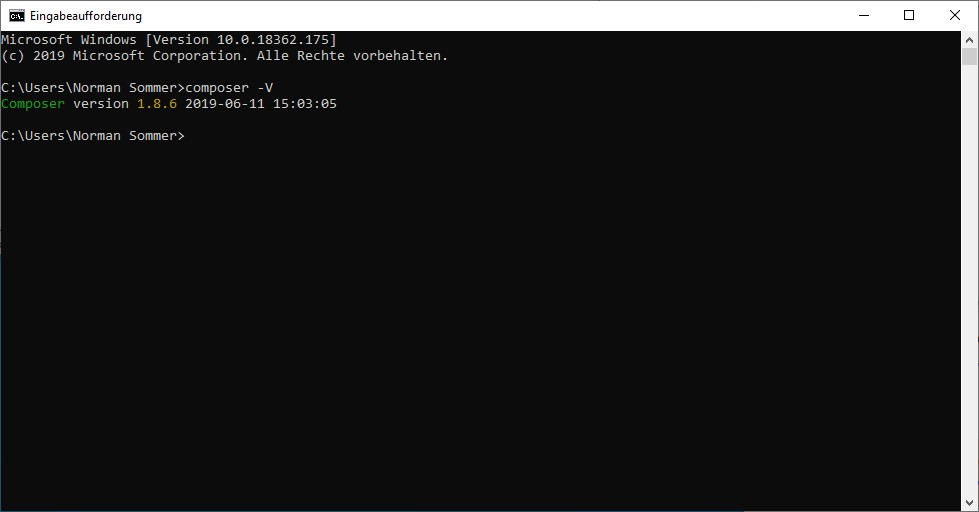
Next i installed the current 64 bit version of Node.js from https://nodejs.org/en/ without any extras, following with the Windows Version of Composer from https://getcomposer.org/download/ – First entry on this page is “Windows Installer”. Load the .exe and install Composer. Make sure Composer finds your PHP-Directory from XAMP, which should be c:\xampp\php\php.exe but may differ in your setup and depends on the directory you installed XAMP first. No options where installed with composer either. Check in your terminal shell if composer is available with the command composer -V
Install Laravel
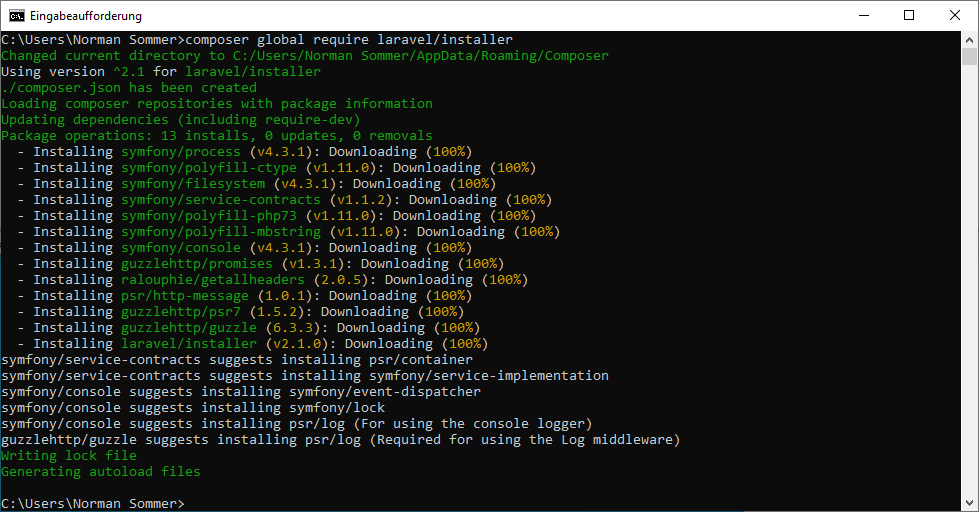
Now install Laravel by typing composer global require laravel/installer on your shell in your home directory
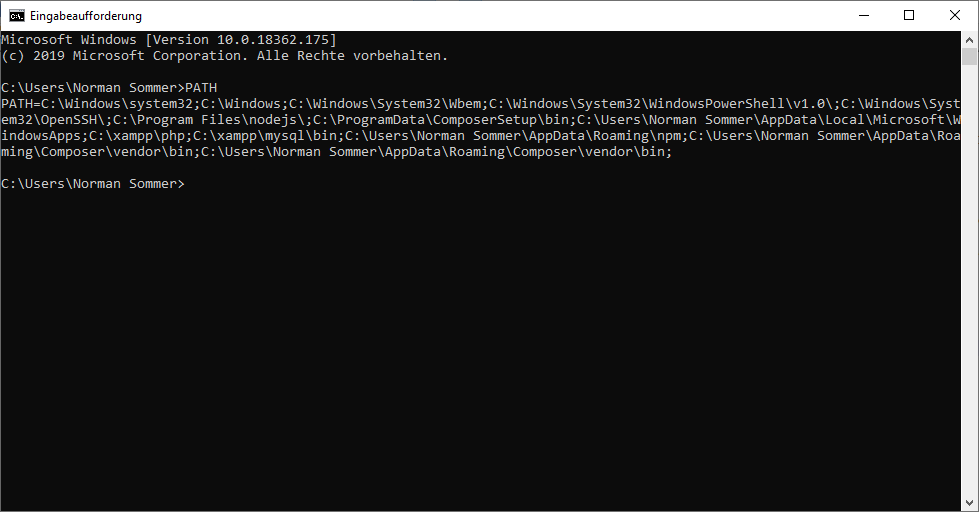
and add %USERPROFILE%\AppData\Roaming\Composer\vendor\bin to your path. you can check your path with the command “PATH” and will get some like this result:
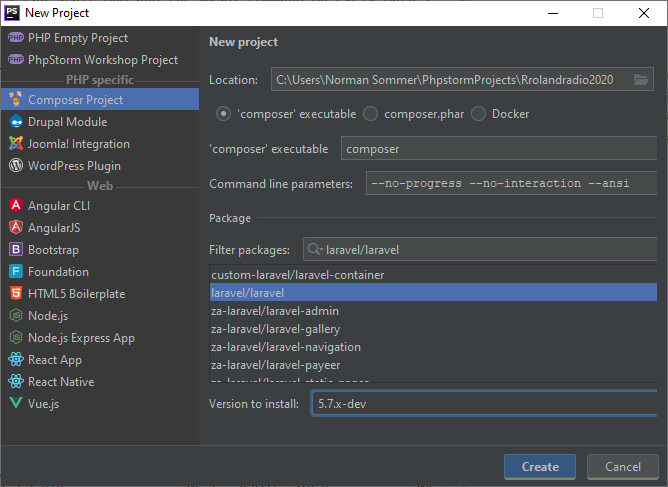
Create a new Laravel-Project
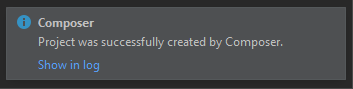
You can add a new project by typing laravel new projectname but i prefer doing it on the IDE side, so i start up PHPSTORM and open a new Project. chose laravel/laravel as package, leave version on “default” to use latest Laravel version and just click create. Now wait some time and your first laravel project will be installed. This will take several minutes. Stay tuned. Don’ panic 🙂
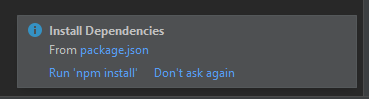
After that PHPStorm asks if you want to install the npm dependencies. Yes you will. You can do it manual by typing npm install in your project directory. this also will take some time. oh, boy.
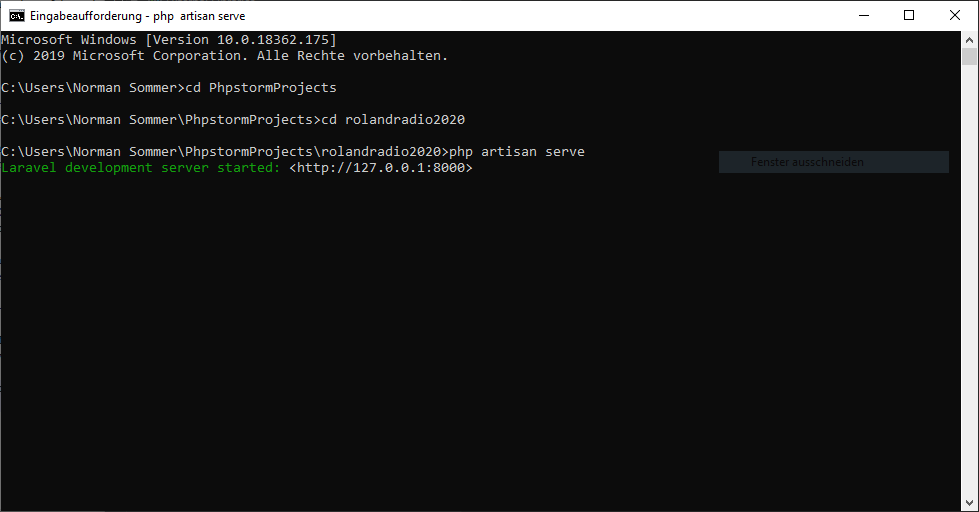
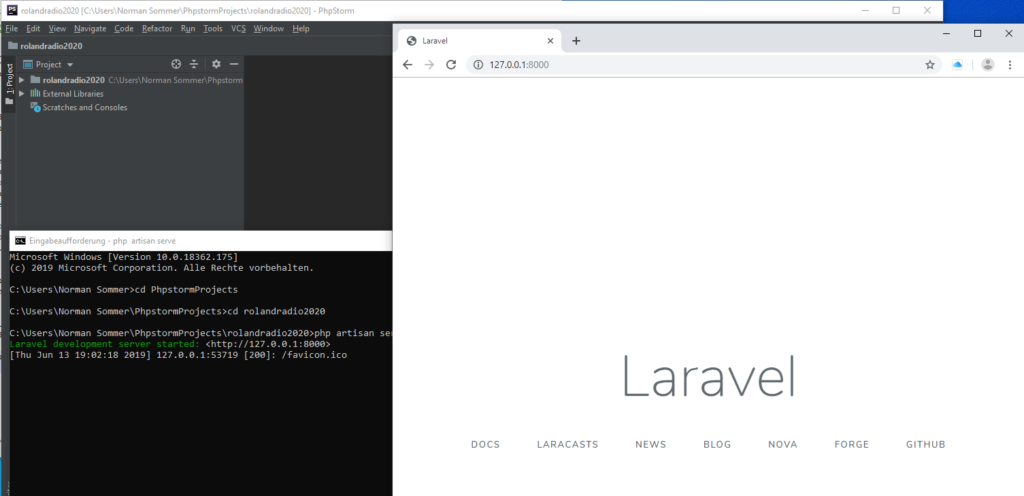
Finally check if everything is installed OK and start you laravel project by typing “php artisan serve” and check your localhost in your browser if there is a laravel page. you also will see the favicon served to your browser in the protcol of the laravel server