Installing XAMP on Windows 10
First i installed XAMP 64-bit-version from https://www.apachefriends.org/de/download.html This package installs a web-server and a database-server, so the basics to do some nice online development in a local environment. As said i only installed Apache, mySQL-Server and FakeMail. No TomCat, no Mailserver, no Statistics, no Perl, cause no other packages are needed for my Laravel and mySQL-Project. If i want to test mail functionality later on i will use a real external mail server to be sure everything works as expected.
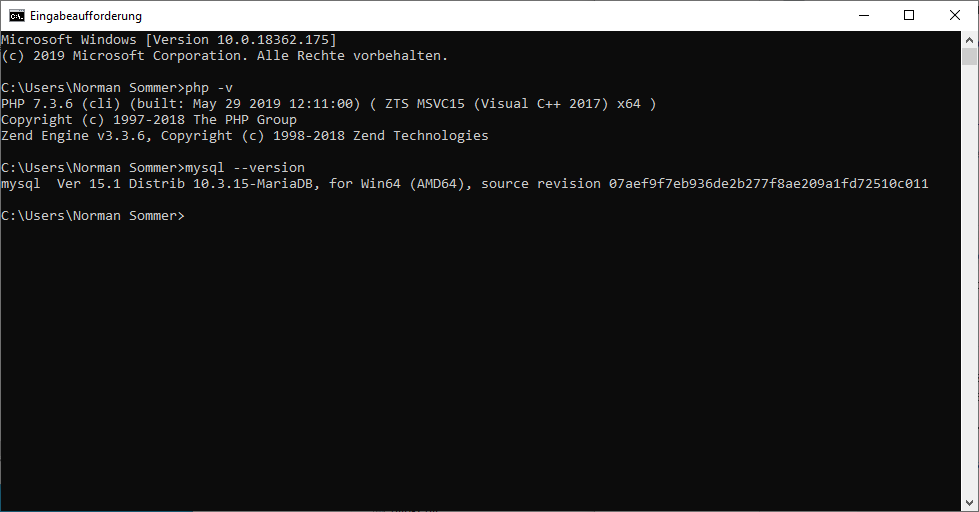
Add your software to your environment path
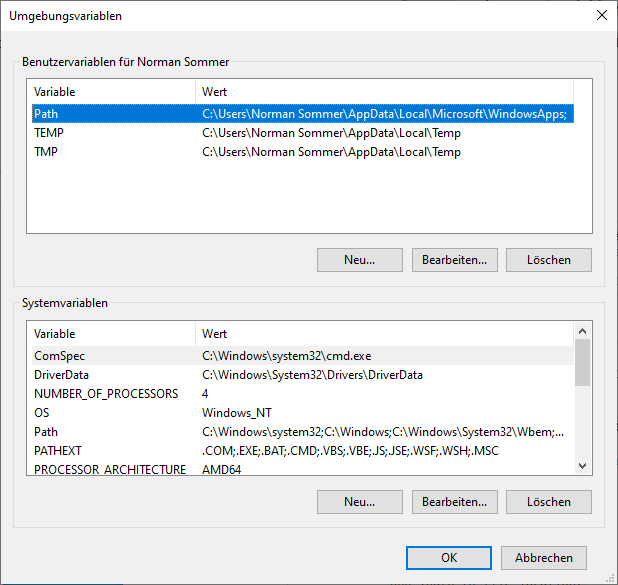
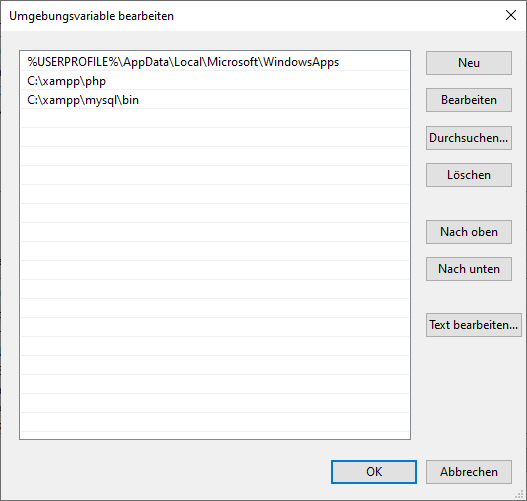
After installing XAMP i added php and mysql to the environment path of my user, so i can start php and the mysql command on every path i will be in my terminal. That is needed to run laravel artisan and other php-based commands from the shell.
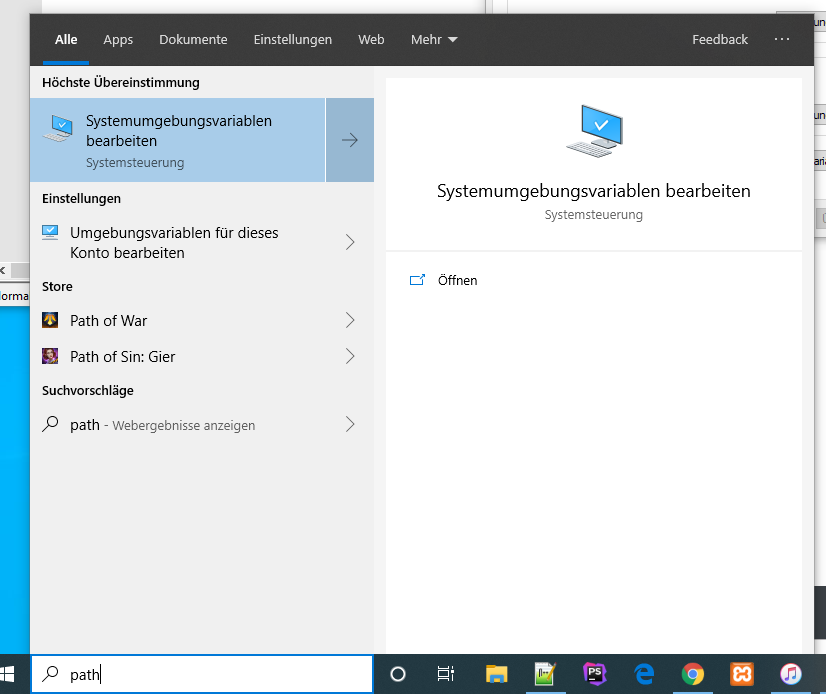
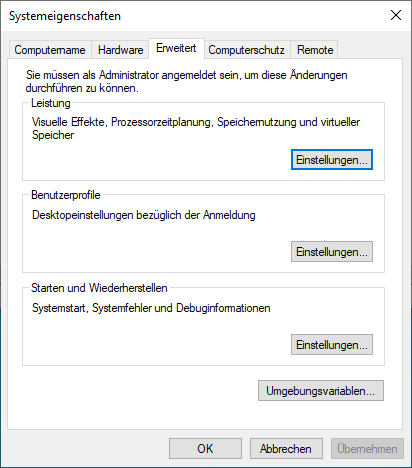
To do this type “path” in your Windows search and start the system settings to add more directories to your path:
Install Node.js and Composer
Next i installed the current 64 bit version of Node.js from https://nodejs.org/en/ without any extras, following with the Windows Version of Composer from https://getcomposer.org/download/ – First entry on this page is “Windows Installer”. Load the .exe and install Composer. Make sure Composer finds your PHP-Directory from XAMP, which should be c:\xampp\php\php.exe but may differ in your setup and depends on the directory you installed XAMP first. No options where installed with composer either.
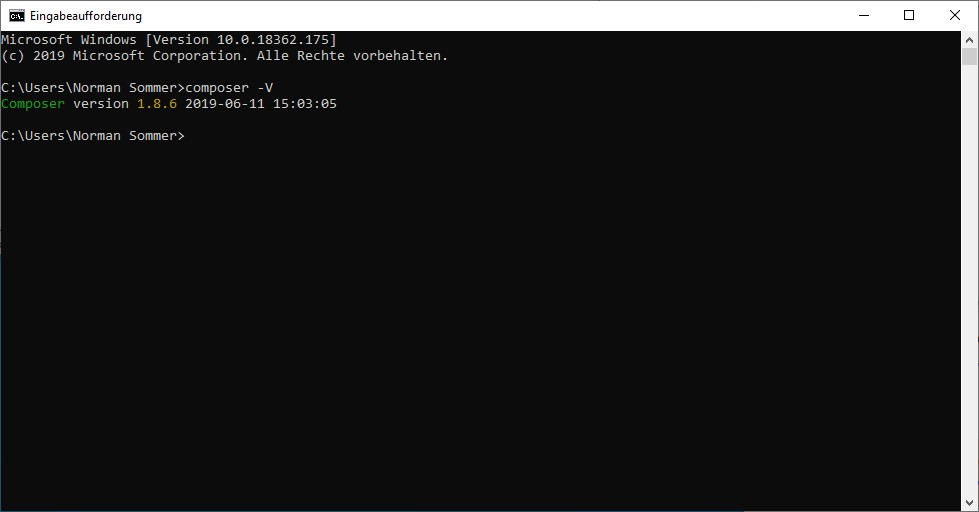
Check in your terminal shell if composer is available with the command composer -V
Install Laravel
Now install Laravel by typing composer global require laravel/installer on your shell in your home directory
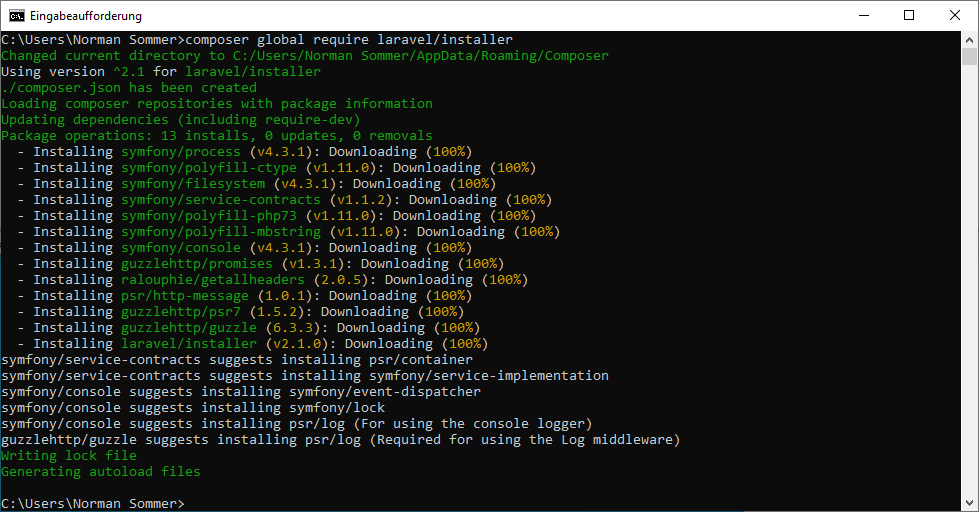
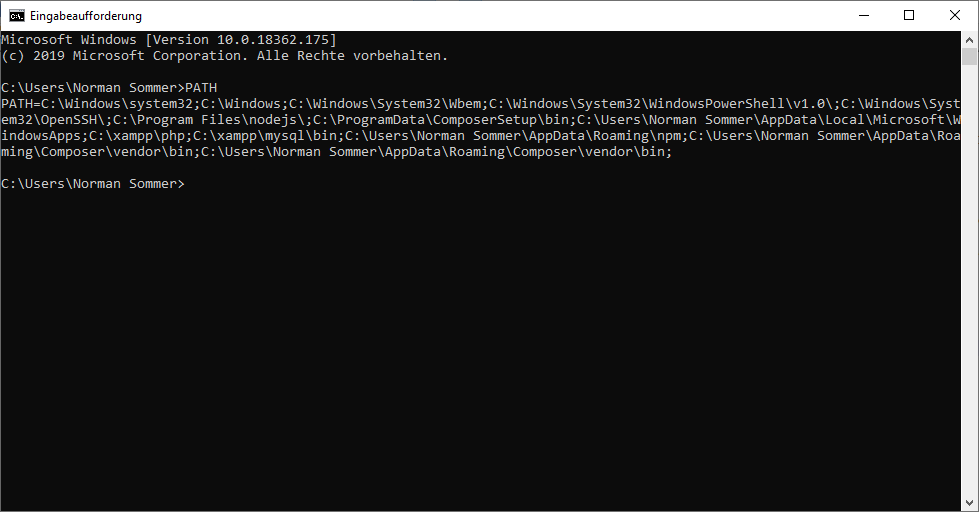
and add %USERPROFILE%\AppData\Roaming\Composer\vendor\bin to your path.
you can check your path with the command “PATH” and will get some like this result:
Create a new Laravel-Project
You can add a new project by typing laravel new projectname but i prefer doing it on the IDE side, so i start up PHPSTORM and open a new Project. chose laravel/laravel as package, leave version on “default” to use latest Laravel version and just click create. Now wait some time and your first laravel project will be installed. This will take several minutes. Stay tuned. Don’ panic 🙂
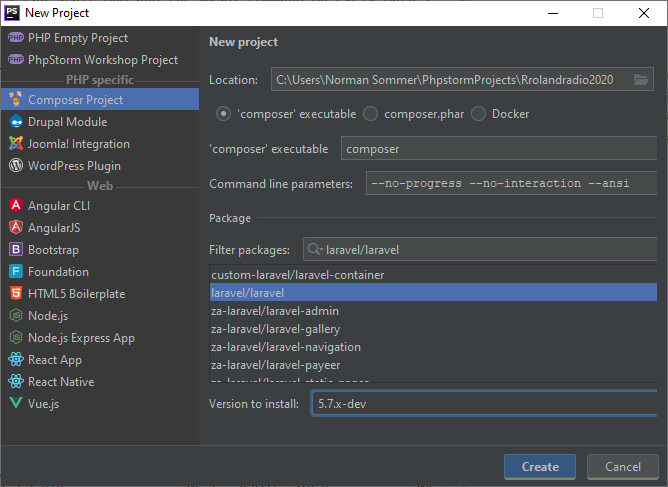


After that PHPStorm asks if you want to install the npm dependencies. Yes you will. You can do it manual by typing npm install in your project directory. this also will take some time. oh, boy.

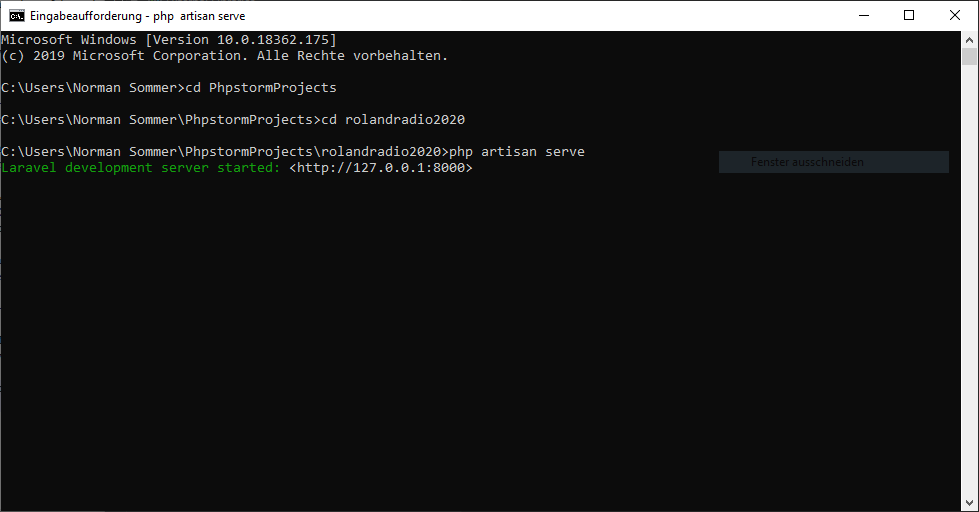
Finally check if everything is installed OK and start you laravel project by typing “php artisan serve” and check your localhost in your browser if there is a laravel page.
you also will see the favicon served to your browser in the protcol of the laravel server
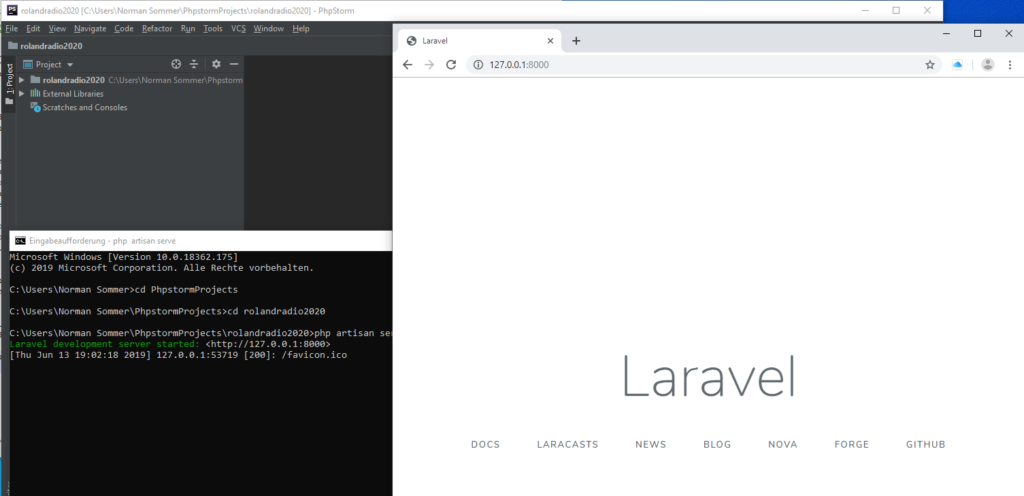
Done. Happy developing 🙂
